How to Charge Your iGet Bar E-Cigarette: A Comprehensive Guide
Charging your iGet Bar e-cigarette properly is essential for maximizing its performance and extending its lifespan. Whether you’re a new user or someone looking to optimize their experience, understanding the best practices for charging your device can make a significant difference. In this guide, we’ll walk you through everything you need to know about how to charge an iGet Bar, including tips, troubleshooting, and frequently asked questions.
Understanding Your iGet Bar
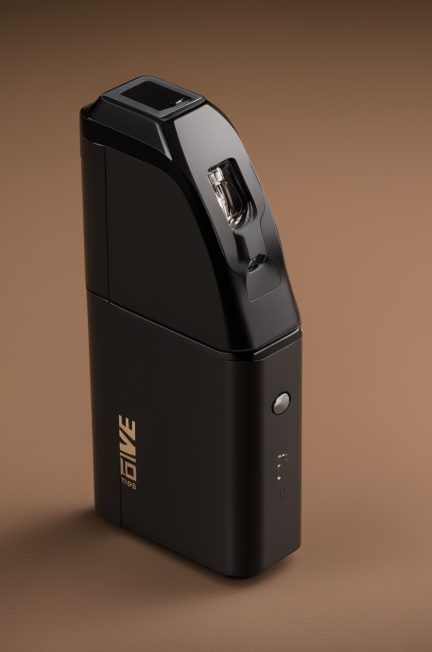
Before diving into the specifics of charging your iGet Bar, it’s important to understand the device itself. The iGet Bar is a compact and sleek e-cigarette designed for convenience and performance. It features a rechargeable battery that powers the device, allowing you to enjoy your vaping experience without the need for disposable batteries.
Key Features of the iGet Bar:
- Rechargeable lithium-ion battery
- Long-lasting battery life
- Easy-to-use charging mechanism
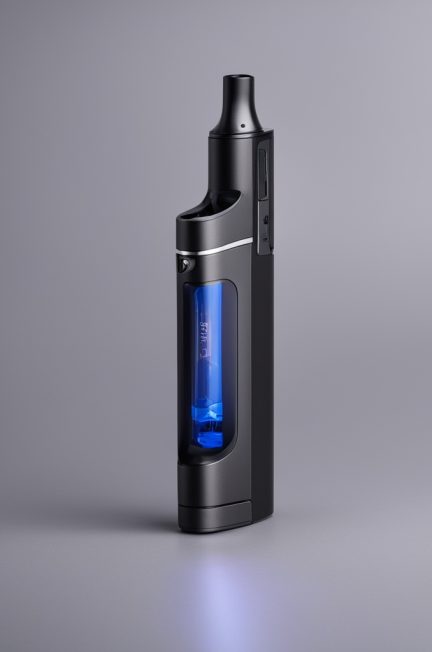
- Stylish and portable design
Now that you know a bit more about your device, let’s move on to the step-by-step guide on how to charge an iGet Bar.
How to Charge Your iGet Bar: Step-by-Step Guide
Charging your iGet Bar is a straightforward process, but it’s important to follow these steps carefully to ensure your device functions optimally. Here’s what you need to do:
- Locate the Charging Port: The charging port on your iGet Bar is typically located at the end of the device. It might be covered by a protective cap, so make sure to remove it before proceeding.
- Use the Included Charger: Always use the charger that comes with your iGet Bar or a compatible USB-C cable. Using third-party chargers can potentially damage your device.
- Connect to a Power Source: Plug the charging cable into an electrical outlet or connect it to a computer via USB port. Ensure the connection is secure to avoid any issues during charging.
- Charge Your Device: Once everything is connected, your iGet Bar will start charging. The LED indicator on the device will usually light up to confirm that charging has begun.
- Wait for Full Charge: Charging time can vary depending on the battery level and power source. Allow the device to charge fully before disconnecting it from the charger.
Important Tip: Avoid overcharging your iGet Bar. Most modern devices are equipped with a built-in protection system that stops charging once the battery is full. However, it’s still a good idea to monitor the charging process, especially if you’re using an older or third-party charger.
Best Practices for Charging Your iGet Bar
To ensure your iGet Bar remains in top condition, follow these best practices:
- Avoid Overcharging: As mentioned earlier, overcharging can degrade the battery life of your device. Always unplug it once it’s fully charged.
- Use the Right Charger: Stick to the charger provided by the manufacturer to avoid any potential damage or hazards.
- Charge in a Safe Environment: Never leave your iGet Bar charging unattended, especially if you’re using it for extended periods. Place it on a flat, non-flammable surface to minimize risks.
- Store Properly: If you’re not planning to use your device for an extended period, store it in a cool, dry place with the battery charged to around 50% capacity.
By adhering to these guidelines, you can extend the lifespan of your iGet Bar and enjoy optimal performance every time you use it.
Troubleshooting Common Issues
Even if you follow all the best practices, you might occasionally encounter issues with charging your iGet Bar. Here’s how to address some common problems:
- Slow Charging: If your device is taking longer than usual to charge, check the charging cable and port for any debris or damage. Clean them if necessary and ensure a secure connection.
- Battery Not Holding Charge: Over time, battery performance can degrade. If your iGet Bar isn’t holding its charge as well as it used to, consider replacing the battery or contacting customer support for assistance.
- LED Light Issues: If the LED indicator isn’t lighting up during charging, inspect the charging port for any obstructions. You might also want to try a different charger or power source to rule out compatibility issues.
If you’re still experiencing problems after trying these solutions, refer to your user manual or contact the manufacturer for further assistance.
Frequently Asked Questions About Charging Your iGet Bar
Here are some common questions and answers about charging your iGet Bar:
- How long does it take to charge an iGet Bar?Charging time typically ranges from 1 to 3 hours, depending on the battery level and power source.
- Can I use a car charger for my iGet Bar?Yes, as long as you use a compatible USB-C charger with sufficient amperage to charge your device efficiently.
- What happens if I overcharge my iGet Bar?Overcharging can reduce the battery’s capacity and lifespan. Most modern devices have built-in safeguards to prevent this, but it’s still a good idea to monitor the charging process.
If you’re unsure about any aspect of charging your iGet Bar, consult the user manual or reach out to customer support for clarification.
Conclusion
Charging your iGet Bar is a simple process that requires attention to detail to ensure optimal performance and longevity. By following the step-by-step guide and adhering to best practices, you can enjoy a seamless vaping experience every time. Remember, if you encounter any issues or have questions, don’t hesitate to seek help from reliable sources like the manufacturer’s customer support team.
Now that you’ve mastered how to charge an iGet Bar, it’s time to put your knowledge into practice and keep your device running smoothly!